Shop appliance parts online needed to repair your Air Conditioning / Water Heaters/ ranges / stoves/ ovens/ clothes washers / washing machines / clothes dryers / refrigerators / freezers / dishwashers/ microwaves and more
Call Jackson Appliance Service to Schedule appliance repair service in the Jackson,MS.area, Call or text 601-573-5853 or 601-573-6497 for appliance service and/or appliance repair, air conditioning service, refrigerator repair service, freezer repair service, commercial refrigeration , stove, range or oven repair service, clothes washer or dryer repair service, dishwasher or disposal repair service or new installation service in and around Flowood,MS.| Ridgeland,MS. |Madison,MS. | Brandon,MS. | Pearl,MS. | Byram,MS. | Clinton, MS. | Find replacement parts
Appliance Repair Service – Refrigerator Freezer Repair
of: Whirlpool, Amana, Maytag, KitchenAid, GE, Hotpoint, Sears, Kenmore, Frigidaire, Electrolux, LG, Samsung and Sub Zero and many more appliance brands.
Washer Dryer Repair – Range Oven Repair Service – Dishwasher Repairs – Disposal Repairs
There is always something breaking in today’s world, it’s that way around our house too. If something seems a bit more than you want to tackle give one of us a call and we’ll be glad to come take a look at it. With a lot of repairs today, we’ll need that model number before we come out and a brief description of the problem your having. Companies charge different rates, be sure to get a quote on the service call before they come.
Appliance Masters
Call ACE Air & Appliance for repairs @ 601-573-6497
Call ABCO Air & Appliance for repairs @ 601-573-5853
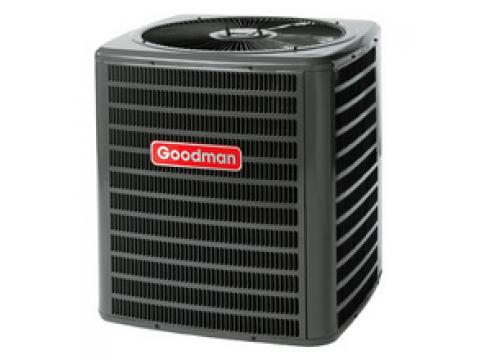
All Air Conditioning Service referrals for Jackson Ms. area. Repairs on Home Central Air Conditioning & Heating Units. Call a skilled air conditioning technician to come to your home to service and repair your home comfort system. Service in Jackson / Ridgeland / Madison / Resevoir / Clinton / Pearl / Brandon / Richland / Florence / Byram
On a Central Air Conditioning Unit : Common Questions
Is the wall thermostat set to Air Conditioning? Is the fan setting on Auto? If Yes
Is either of the units running? The inside unit (air handler) running? Is air coming out the vents? The outside unit (the condenser) running? Is it forcing air out the top?
If the air handler is not running. Is the Blower Cover in place depressing the cover safety switch?
When accessing the electrical compartment of the air handler: Does the air handler have an air handler control board with a LED that flashes to show what the error is? If so, count the number of flashes and compare that number with the legend on the wiring schematic.
If the air handler does not have an air handler control board: Find the fan relay, you will need a multimeter to find if the fan relay has 24 volts going to the fan relay coil, be sure the cover panel safety switch is depressed. 24 volts Y/N? If Yes is the fan motor relay supplying power to the air handler fan motor? If Yes the problem may be the air handler fan motor or the motor run capacitor.
If No If the energized fan motor relay is not supplying power to the air handler fan motor you may need to replace the fan motor relay.
If the inside air handler is running properly: Is the Condensing Unit Outside Running? Yes
If so, is the compressor running? If so, is the small copper tube leaving the outside condenser unit warmer that the larger copper tube? If the small tube is very hot then the condenser coils may need cleaning. Disconnect the power supply going to the outside condenser unit. Using a garden hose, with the power supply interrupted, spray water straight through the coil fins to clean the dust and dirt from them. Be sure to spray the water parallel to the fins so that they do not become bent or damaged. When finish wait 15-30 minutes then turn on the power supply to the outside condenser unit. After 15 minutes of running, is the inside air handler circulating cooler air than before? Normally a 15-20 degree temperature difference will be attained between the inside air handler intake and the inside air handler exhaust.
If the inside air handler is running properly: Is the Condensing Unit Outside Running? No
Disconnect the High Voltage Supply to the outside condensing unit. Remove the cover on the outside condensing unit electrical compartment.
Is the Power Contactor inside the outside condenser unit electrical compartment Energized? No
Is the Low Voltage Power Supply providing the minimum low voltage requirement to the Power Contactor? If Yes, you may need to replace the condensing unit power contactor. If the low voltage is not present? Then follow the low voltage wiring back to the low voltage transformer inside the air handler, checking for breaks in the wire. If the low voltage transformer has line voltage entering the low voltage transformer primary but no low voltage is coming out of the secondary transformer side: replace the low voltage transformer.
Is the minimum line voltage requirement coming through the Power Contactor? Yes
Is there the same voltage at the Power Contactor input as the output?
If Yes and neither the condensing fan motor or the compressor is running the problem may be in the condensing unit dual run capacitor.
Call for Service or Text: ABCO AIR & APPLIANCE 601-573-5853
Call for Service or Text: ACE AIR & APPLIANCE 601-573-6497
We have the parts, they have the know how.
DIY Ice maker Service Help
1.In a Refrigerator it is very important to verify the freezer is below 15 degrees.
2.Is there ice in the ice maker mold?
3.If no look at the water inlet valve.
4.If Yes the problem is in the Ice maker.
5.If you need more help call us at 601-939-2550.
Nickel Safe Cleaners & Cleaning Services Available
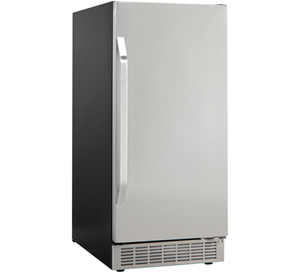
Do It Yourself Built in Ice Machine Repair Help
Directions on Cleaning the Ice Machine Nickel Evaporator
You will need to use one 16-ounce (473 mL) bottle of approved ice maker cleaner. We recommend using the Affresh® Ice Machine Cleaner part number 4396808.
Turn off the ice maker.
Wait 5 to 10 minutes for the ice to fall into the storage bin. Remove all ice from the storage bin.
Unscrew the drain cap from the bottom of the water pan located inside the storage bin as shown. Allow the water to drain completely.
Replace the drain cap securely on the water pan. If the drain cap is loose, water will empty from the water pan and you will have either thin ice or no ice.
Read and follow all handling information on the cleaner bottle before completing the steps below. Use one 16-oz (473 mL) bottle of approved ice maker cleaner.
Pour one bottle of solution into the water pan. Fill the bottle twice with tap water and pour it into the water pan.
Press and hold the “Clean” button. (See the “Using the controls” section below.) The light will blink, indicating that the cleaning cycle is in process. When the indicator light turns green (approximately 70 minutes), the cleaning cycle is complete. During the cleaning cycle, the system will both clean and rinse itself.
After the cleaning cycle is complete, remove the drain cap from the water pan. Look to see if any cleaning solution is left in the water pan. If cleaning solution drains from the water pan, you should run the clean cycle again. Be sure to replace the drain cap securely on the water pan. Otherwise, if the drain cap is loose, water will empty from the water pan and you will have either thin ice or no ice at all.
NOTE: Severe scale buildup may require repeated cleanings with a fresh quantity of cleaning solution.
Press and hold the “On” button to resume ice production
Cleaning the Condenser
A dirty or clogged condenser:
Obstructs proper airflow.
Reduces ice-making capacity.
Causes higher-than-recommended operating temperatures which may lead to component failure.